Loading cart contents...

Reviewing Photoshop Overlays for Sleeklens
Last week Sleeklens contacted me and asked if I would like to review some of their Photoshop Overlay products. Since I personally rely a lot on reading reviews of products before I buy them I happily review products that relate to my biggest passion – photography.
In this review I will be testing out the Autumn Pumpkin Glaze Overlay & Action Collection and the Skies Overlay Collection. Both available for sale on Sleeklens.com.
Autumn Pumpkin Glaze Overlay & Action Collection
I’ll be starting with testing out the Autumn Pumpkin Glaze Overlay & Action Collection. As mentioned on their website this collection is supposed to bring out the beauty of autumn outdoor & nature shots. It’s a fairly big collection which includes the following:
- 7 Bird Overlays(In PSD format with JPEG previews)
- 20 Color Filter Overlays
- 8 Leaves Overlays
- 2 Leaves PS Brushes
- 20 Light Overlays
- 10 Rain Overlays
- 15 Skies Overlays – including sunsets, storm, cloudy and clear sky conditions
- Autumn Enhancing Photoshop Actions (78 Actions)
- Compatible with Photoshop 4-6 and Adobe Creative Cloud
- Works both with JPEG and RAW images
- Works both on Mac and PCs
- Recipe list and sample images to get inspiration from
- An easy-to-follow guide on how to install the Photoshop Overlays
- Easy to adjust to fit your own style
- Exclusive access to our private Help and Tutorial Facebook Groups
- File size of the overlays is: 203 mb
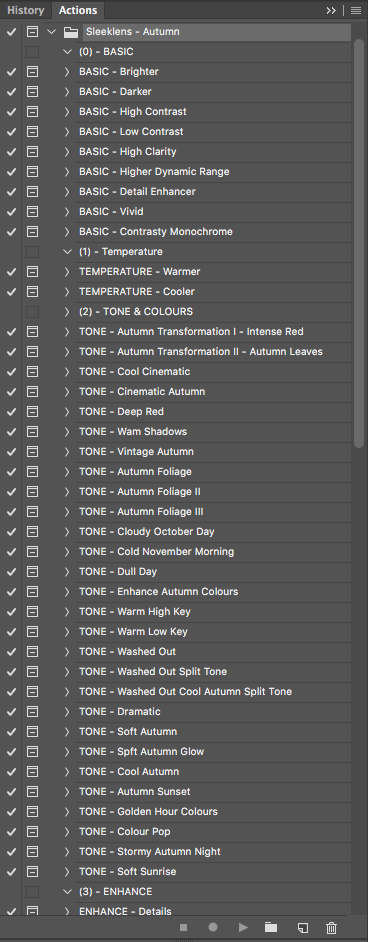
Installing the actions
To start using the actions you have to install them first and that process is well explained in the FAQ on their website. It was as easy as described – I simply double clicked on the actions file and they were loaded in Photoshop.
Using the collection
Once the actions we’re installed I selected a maximum of three photos to work with in this review (for both collections). All shots have been made during my holiday in Italy last year. I opened one of the photos in Photoshop, which was unedited, and immediately noticed the actions were properly installed. However, there were so many actions that I had no idea where to start. What was I going to do?
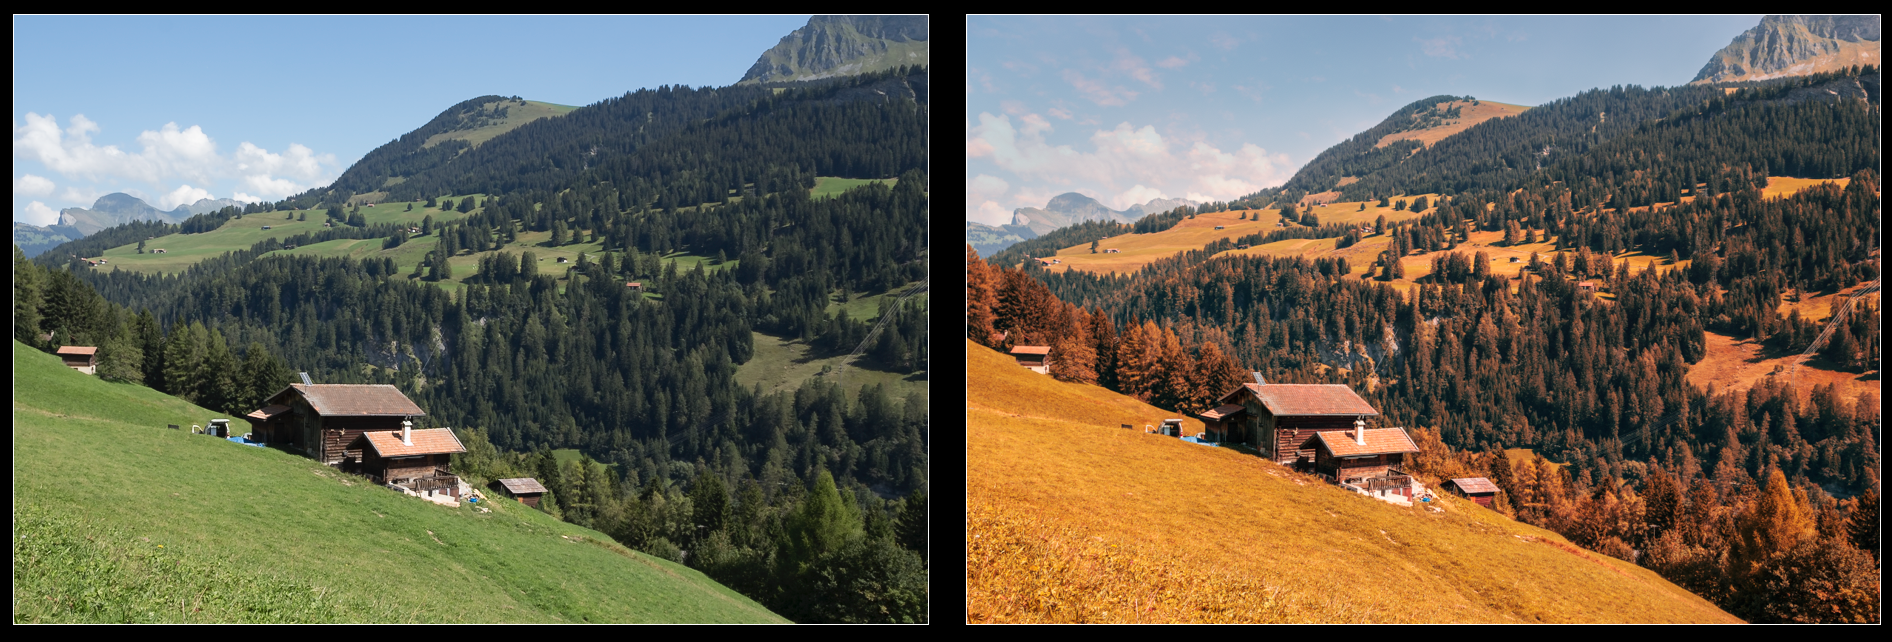
First thing I did was adding some (40%) clarity using one of the basic actions in the collection. After that I added ‘Higher Dynamic Range’ with an opacity of 70%. Next was adding a warmer temperature to the image. I experimented with a lot more actions to come to a result that I found fairly acceptable working with actions only. I found it quite hard to have a proper overview of everything that’s available because there is so much to choose from.
I’ve also added part of a sky that I liked and was included in the collection. There are several overlays available in the collection like birds, leafs and skies. These are basically just JPG’s which you have to add to your photo and use a layer mask to brush whichever part you want to use. Below is the before (left) and after (right) image.
After trying every action manually there is also an option to use a couple of ‘All in One’ actions. I tried the Autumn Cityscape action for the photo below and found the result quite surprising. This was just one click of a button.

Skies Overlay Collection
As mentioned on their website this collection is supposed to be the ultimate bundle for making outdoor photographs pop up. Compared to the Autumn collection this is a rather small collection which includes the following:
- 4 White Flares Overlays
- 1 Light Ray Overlay
- 177 Skies Overlays – including sunsets, storm, cloudy and clear sky conditions
- Sky Overlay Photoshop Actions (36 Actions)
- Compatible with Photoshop 4-6 and Adobe Creative Cloud
- Works both with JPEG and RAW images
- Works both on Mac and PCs
- Recipe list and sample images to get inspiration from
- An easy-to-follow guide on how to install the Photoshop Overlays
- Easy to adjust to fit your own style
- Exclusive access to our private Help and Tutorial Facebook Groups
- File size of the overlays is: 203 mb
Using the collection
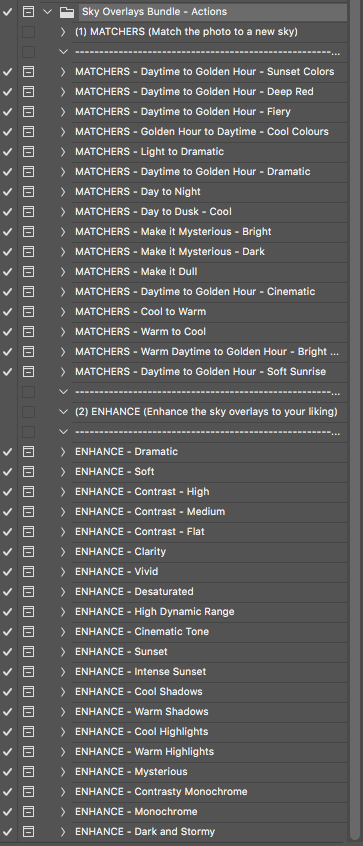
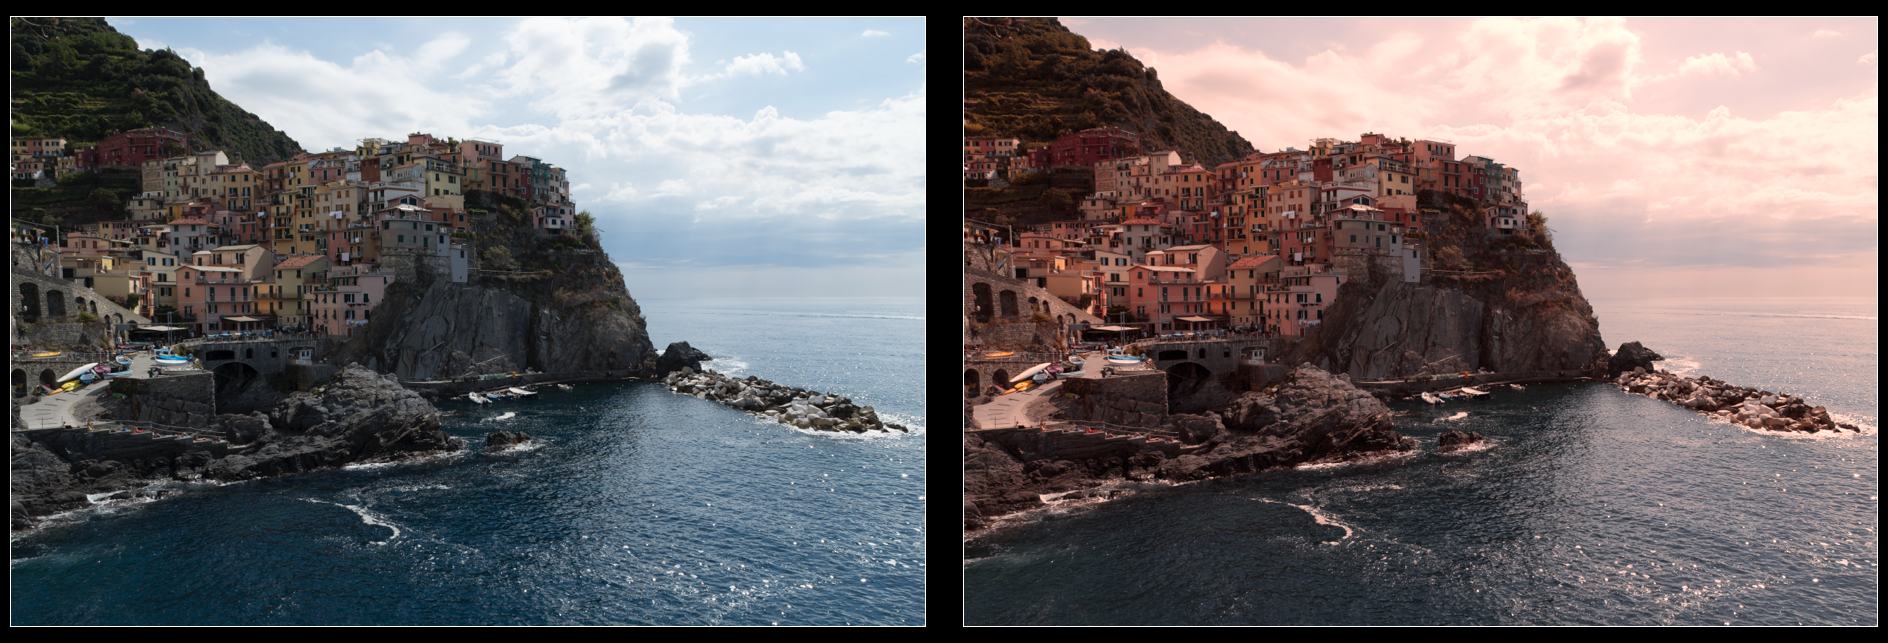
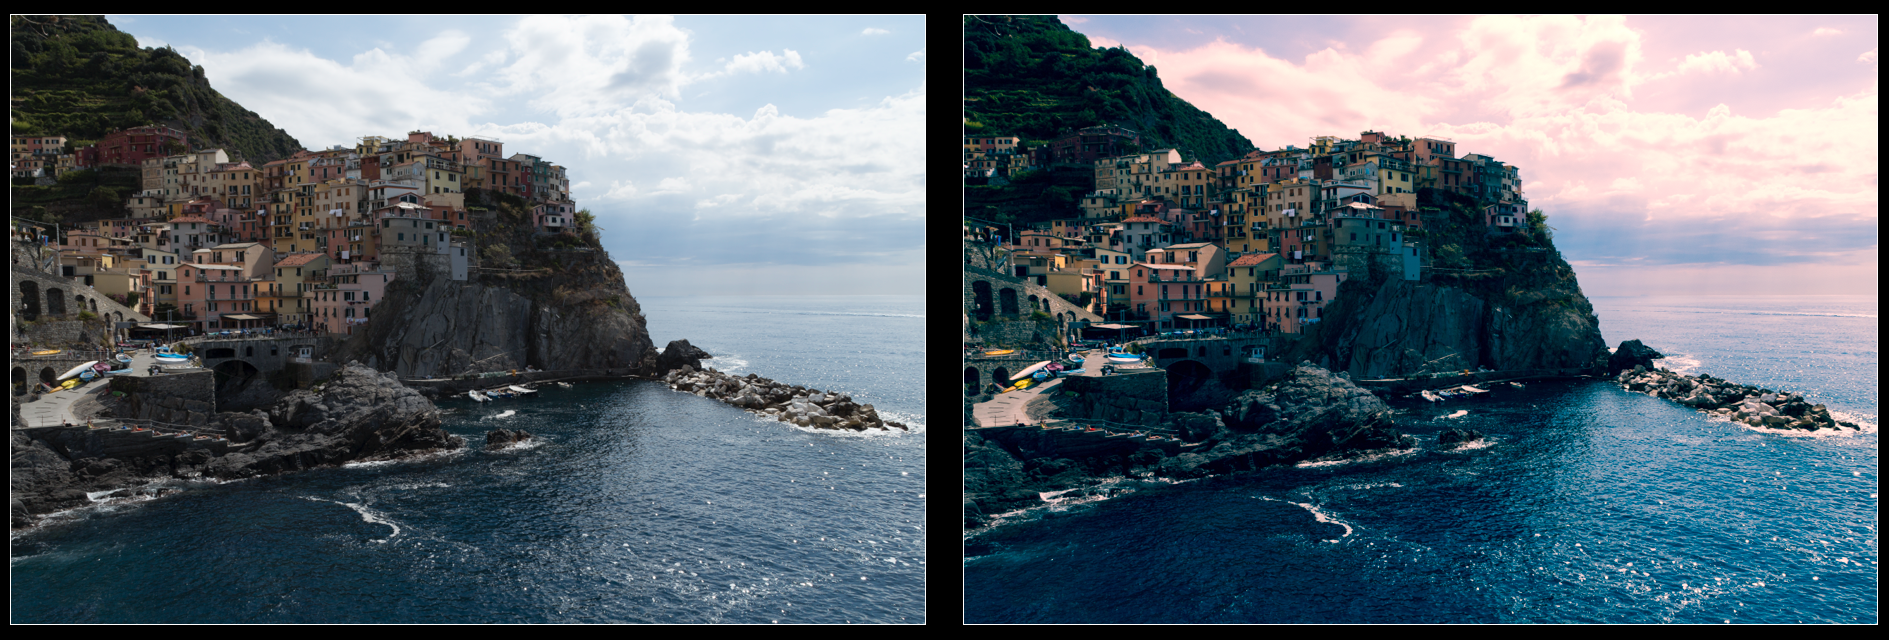
This collection has an actions file to install as well, which was repeating to same process as for the Autumn collection. Once installed I opened up an image in Photoshop and had a look at the available actions. A much smaller list and the titles of the different actions were a bit easier to understand – at least the ones with MATCHERS in front of them. First thing I did is click the first action on the list, which was named ‘Daytime to Golden Hour – Sunset Colors’. And it did exactly that. The result positively surprised me. This is something I would use.
Have a look at the before (left) and after (right) below.
After this I tried the ‘Daytime to Golden Hour – Cinematic’ action, which gives it a beautiful effect as well. Next to the action I also did some basic editing (contract – highlights – shadows) and the difference is amazing. Check it out below
My biggest surprise was yet to come. I used one of the almost 200 skies stock photos included in this collection and added it into this photo. Played around a bit with it and used some of the actions in this collection to eventually come to the result below.

I have to say I really like it. It’s not perfect, I know that, but to show you what this collection is capable of I believe it gives you a pretty good idea. Besides, I spend less than 10 minutes to achieve this result.
Summary
I’m obviously used to shooting abandoned buildings and I don’t see me using one of these collections for that purpose to be honest. But, when shooting landscapes, cityscapes, seascapes or portraits I’d definitely use them. I wasn’t a huge fan of products like this because I thought I would lose too much control. But that’s highly the case. I was still in control of every action or overlay I used and each one of them could be edited individually.
The autumn collection was lacking overview – it was simply too large for my taste. I didn’t know where to start, what to do and some of the actions I tried just weren’t fit for the photos I used in this review. I’m convinced that when shooting portraits in the forest this collection would fit in much more.
The skies collection was lovely. Nearly 200 sky stock photos were included and it was a lot of fun blending one of them into the photo. I can imagine myself doing this more often. There weren’t lot of actions included but those that were are actually highly usable. There was also a ‘recipe guide’ included with a couple of examples and which actions or overlays to use to achieve the same result.
The instructions shared on the website of Sleeklens are good and fit for use. I also believe the website gives a good idea of what’s included in the collections. Basic knowledge of Photoshop, especially working with layer masks, is required.
The skies collection is a collection I would buy. The autumn collection not so much.
I’ve enjoyed testing this out for Sleeklens.


1 Comment
Join the discussion and tell us your opinion.
[…] we will guide you through a step-by-step guide on how to add luminous lighting using photoshop overlays for sleeklens. We have identified each step […]